Scroll
有两个可以滚动的组件: ScrollView和ListView。ScrollView适合于内容较少而且性能要求不高的情况。而ListView则更加适合于处理内容较多且性能要求较高的情况。
他们两个组件都会提供onScroll方法,这个方法默认的情况下每次的scroll都会被调用。你可以给scrollEventThrottle这个prop赋值,改变onScroll方法的调用频率。scrollEventThrottle的默认值是0。如果需要精确的scroll定位,那么可以把scrollEventThrottle设置为16,也就是屏幕每次刷新都会调用onSCroll方法,但是性能会受到影响。如果不需要这么精确的定位的话,可以给scrollEventThrottle设置一个大一些的值,这样程序的性能受到的影响也更少。
event.nativeEvent的JSON定义是这样的:
{
    "contentOffset": {
        "x": 0,
        "y": 2395.333333333333
    },
    "layoutMeasurement": {
        "width": 414,
        "height": 736
    },
    "contentSize": {
        "width": 414,
        "height": 5000
    },
    "zoomScale": 1,
    "updatedChildFrames": [],
    "contentInset": {
        "right": 0,
        "top": 0,
        "left": 0,
        "bottom": 0
    }
}
有两个需要我们注意的:contentSize和contentOffset。contentSize可以得到组件渲染后ScrollView里全部内容的高度,从contentOffset里可以得到当前滑动距离的 x 和 y。x的值说明水平滑动的距离,y的值则是竖直方向的。
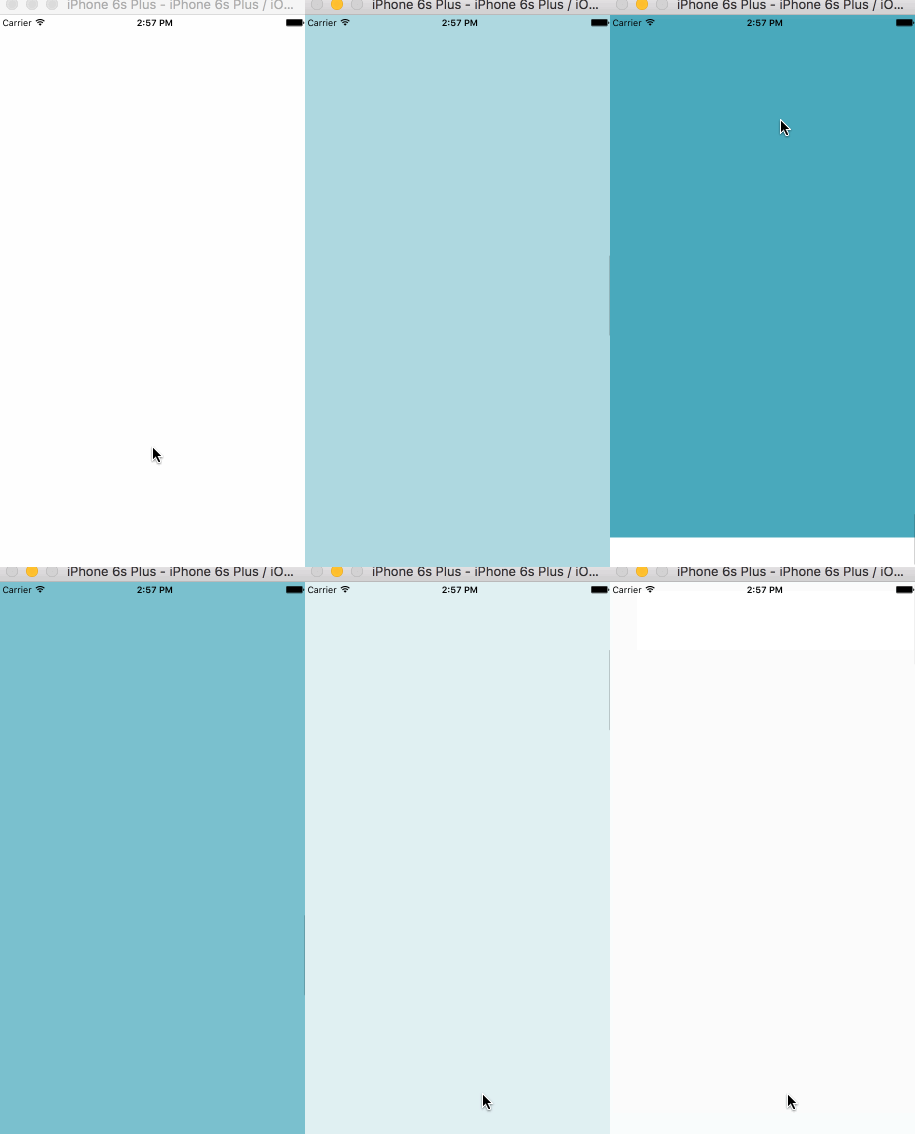
下面的例子,我们就通过滑动来改变一个view的背景色。
import React, {Component} from 'react';
import {
    View,
    ScrollView,
    Animated,
    StyleSheet
} from 'react-native';

export default class ScrollBgDemo extends Component {
    constructor(props) {
        super(props);

        this.state = {
            animatedValue: new Animated.Value(0)
        };
    }

    render() {
        let interpolatedColor = this.state.animatedValue.interpolate({
            inputRange: [0, 5000],
            outputRange: ['rgba(255, 255, 255, 1)', 'rgba(51, 156, 177, 1)'],
            extrapolate: 'clamp'
        });

        let event = Animated.event([
            {
                nativeEvent: {
                    contentOffset: {
                        y: this.state.animatedValue
                    }
                }
            }
        ]);

        return (
            <View style={styles.container}>
                <ScrollView style={{flex: 1}} onScroll={event} scrollEventThrottle={16}>
                    <Animated.View style={{height: 5000, backgroundColor: interpolatedColor}} />
                </ScrollView>
            </View>
        );
    }
}

const styles = StyleSheet.create({
    container: {
        flex: 1,
        // alignSelf: 'stretch',、
        // backgroundColor: 'white'
    }
});
我们在state里初始化了animatedValue,接着在render方法里给它设置了插值器,并指定输入值的范围为0 到 5000。在插值器里我们设定extrapolate: 'clamp',其实在这里使用默认值extend也是可以的。
接着配置了Animated.event,把contentOffset.y和动画值关联到一起,也就是和用户的上下滑动关联到了一起。然后把动画事件和onScroll关联到一起。这样在滑动的时候Animated。event就会被调用,并在其中自动使用setValue设置动画值改变view的背景色。
效果是这样的:
